
Blog開設以来、ページデザインの変更が思い通りにならないことにずっと悩んできました。
子テーマのstylesheet.cssに追加すれば済むのはわかっていたのですが、どうにも親テーマに書かれているCSSが邪魔をして、うまく表示されません。
今回のお題はリスト
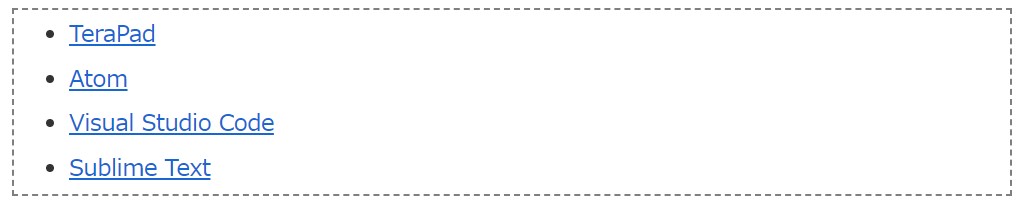
本文中にリスト表示させます。
こいつのデザインを変えたかったのです。
これを子テーマのstylesheet.cssに書き込むと、なんとヘッダーのメニューまで反応してしまいました。
つまり、ここもulで表記されているということですね。
要素にclassで名前をつけてあげる
子テーマのstylesheet.cssに[.list]でclassをつくったら、今度はトップページの記事のリストまで反応してしまったので、[.mulist]という名前を自分でつけてあげて以下を書き込みました。
あとは記事本文を書く際に、以下のようにclass名を加えてあげればOKです。
これで別の場所に干渉することなく、記事にだけデザイン変更ができるようになりました。
olでも同じことができますね。
コメント